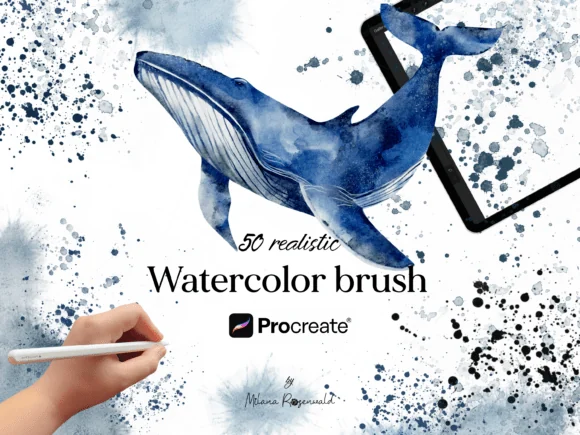
Digital watercolor fails in one specific way: it stays where you put it. Real watercolor moves, it bleeds into wet paper, pools at puddle edges, granulates into paper tooth, and stains previous layers. Reproduce those four behaviors and your iPad paintings suddenly smell like a real sketchbook.
The four behaviors of real watercolor
1. Bleed, pigment chases water
On wet paper, pigment rushes outward and feathers at the boundary of the wet area. In Procreate, this lives in two places: brushes with soft, feathered edges, and deliberately painting wet-into-wet: lay a clean water-like wash first (a very light, diluted brush pass), then drop color into it while it is conceptually "wet", letting a bleed brush carry the pigment beyond your stroke.
2. Blooms and backruns
When a wetter wash touches a drying one, water pushes pigment outward into cauliflower-shaped "blooms". Most artists fight these digitally; traditional watercolorists treasure them. Use a bloom/edge brush to drop these shapes in consciously where washes overlap.
3. Granulation
Pigments settle into the paper's texture, creating that speckled, sandy look, especially visible in skies and shadows. Grain and granulation brushes reproduce it; a granulation pass over large flat washes is the single fastest realism upgrade.
4. Staining and transparency
Watercolor layers are translucent: each glaze lets the last show through. Digitally, this means painting light to dark on separate layers at reduced opacity, and resisting pure opaque passes anywhere but the final accents.
The kit that simulates the real palette
The 50+ Realistic Watercolor Studio Kit was engineered exactly around this: a 30-brush pigment core from fine liners to broad wet washes, plus 5 professional blenders for flow control. If you want a bigger library, the 80 Organic Watercolor Brushes kit expands the same simulation to 80 tools.
And the missing ingredient in most watercolor attempts is the paper: a seamless watercolor-paper texture (sold with the Digital Sketchbook) set to Multiply makes every wash granulate into real tooth.
A five-step watercolor workflow
- Sketch lightly, a pale graphite or watercolor-line sketch; watercolor punishes dark pencil
- Mask your lights, keep paper white where the brightest highlights live; watercolor reserves, never adds, its lights
- First wash: big, wet, light, establish the temperature of the whole piece in one diluted pass
- Glaze up the darks, successive transparent layers, letting edges overlap imperfectly; drop blooms into drying washes
- Finish with the darkest darks and granulation, the deepest accents and a texture pass, then step away
FAQ
Why does my digital watercolor look flat?
Usually two missing pieces: pure smooth gradients with no granulation, and painting at full opacity. Dilute (lower opacity), layer transparently, and add paper tooth.
What canvas setup works for watercolor?
3000 px+ at 300 DPI, with a watercolor paper texture on a Multiply layer at 20–40% opacity above your paint layers.
Can I combine watercolor with line art?
That pairing is one of the strengths of digital: ink first with a liner set (see our line art brush guide), then glaze watercolor underneath for classic illustration results.