Painting portraits on the iPad is one of the most rewarding uses of Procreate, and one of the most brush-dependent. A portrait asks you to render crisp iris lines, buttery skin transitions, individual hair strands and paper-grain texture in a single image. No single default brush does all of that well.
This guide breaks down the brush categories that actually matter for portrait work, then points you to the DigiKitPro kits built for each stage.
The 6 brush categories every portrait artist needs
1. Foundation sketching brushes
Every strong portrait starts with a confident sketch. You want a pencil brush with real graphite texture and a pressure curve that stays light when you block in and darkens as you commit. A scratchy, honest pencil keeps your drawing loose, which is exactly what a portrait needs at the start.
2. Clean liners and ink
Once the sketch reads well, a tapered, pressure-sensitive liner lets you carve the important edges: the lash line, the nostril, the lip seam. The Essential Line Art & Sketch Kit ships 12 liners and 7 ink brushes tuned for exactly this job.
3. Skin texture brushes
This is where most portraits succeed or fail. Skin is not smooth, it has pores, freckles, faint wrinkles and micro-imperfections. A dedicated skin set like the Portrait Skin Brushes for Procreate gives you 19 tools for texture, blending, blusher, highlighter and detail work, including textured blenders that avoid the plastic, over-airbrushed look.
4. Blending brushes
Blending is the most abused stage of digital portraits. A soft airbrush will get you smooth color, and dead, plastic skin. Textured blenders soften transitions while preserving tooth, so the portrait keeps its life.
5. Hair brushes and stamps
Painting tens of thousands of strands one by one is the slowest path to good hair. A streamlined hair workflow blocks the mass first, then adds directional strands and flyaways. The Hair & Hairstyle Stamp Kit contains 160 stamps that establish believable volume and flow in seconds, you paint over them rather than starting from zero.
6. Finish: highlights, glow and paper grain
The last 5% sells the realism: catchlights in the eyes, a specular kiss on the lip, and a subtle paper texture on top to unify every stroke.
The one-kit answer: Portrait Mastery Kit
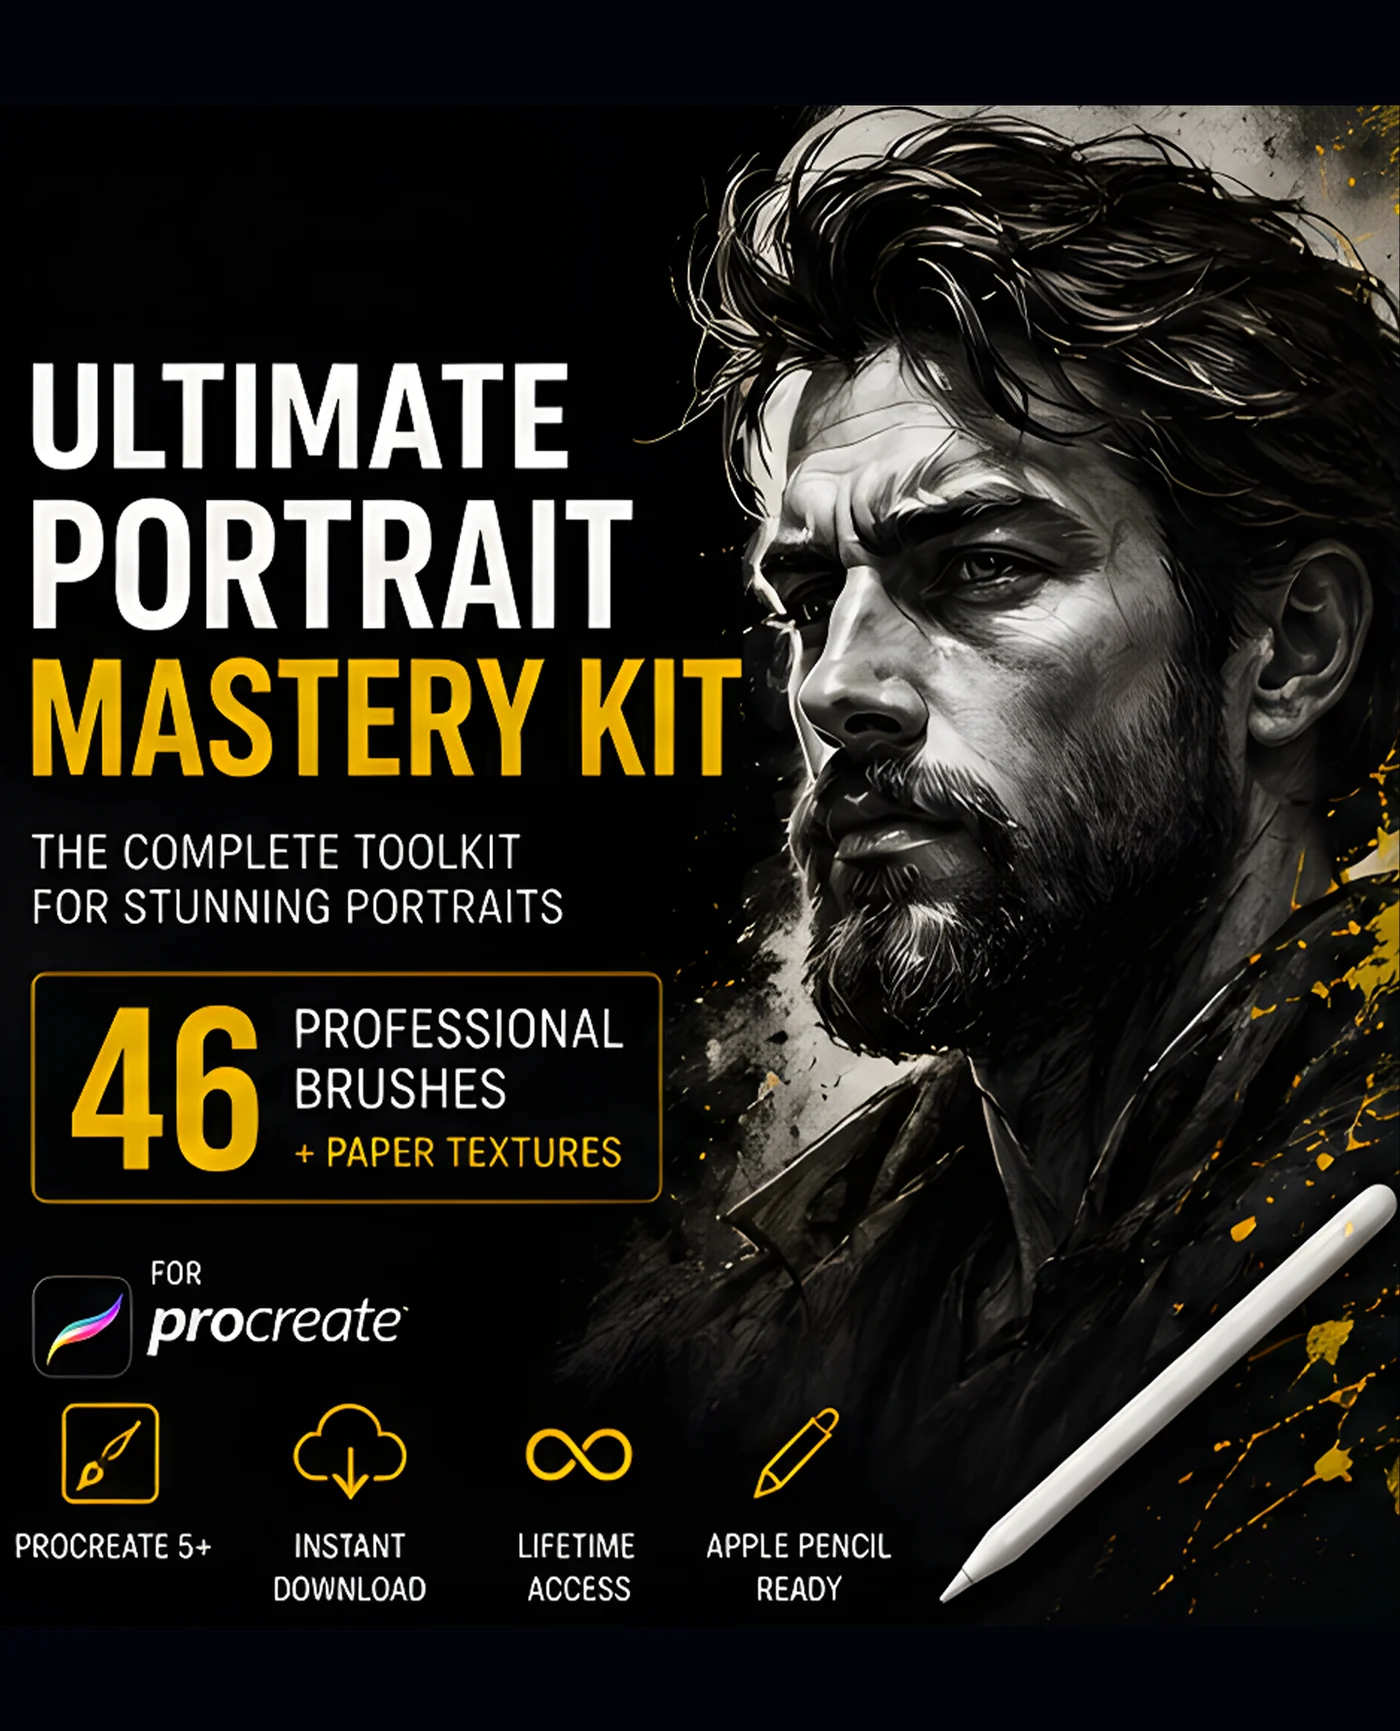
If you want a single purchase that organizes the whole workflow, the Portrait Mastery Kit, 46 Procreate Brushes was built for it: 46 brushes arranged into Sketch, Ink, Blend, Hair, Detail, Texture and Finish sections, plus 4 paper textures. There is no hunting, the kit follows the order a portrait is actually painted in.
Scaling up: bundles for serious portrait artists
If you already know this is your niche, the Ultimate Portrait Mastery Bundle combines four complete kits, line art (43 brushes), skin texture (19), hair stamps (160) and glitter effects (30), 252+ assets that take you from blank canvas to finished, gallery-ready portrait.
FAQ
Are these brushes beginner friendly?
Yes. Every kit is organized by workflow stage, so a beginner can simply move through sections in order. The pressure and tilt behavior is tuned for Apple Pencil, so strokes react like real pencils and paint.
Do I need different brushes for stylized vs realistic portraits?
The core categories are identical, realistic work leans harder on texture and blending brushes, stylized work leans on liners and flat base brushes. A complete kit like Artista or Portrait Mastery covers both.
What version of Procreate do I need?
DigiKitPro brush kits are made for Procreate on iPad (Procreate 5+ recommended) with Apple Pencil pressure and tilt support. They are not compatible with Photoshop or other drawing apps.
Ready to paint better portraits?
Start with the workflow stage that slows you down most, for most artists that is skin, and build your kit from there.