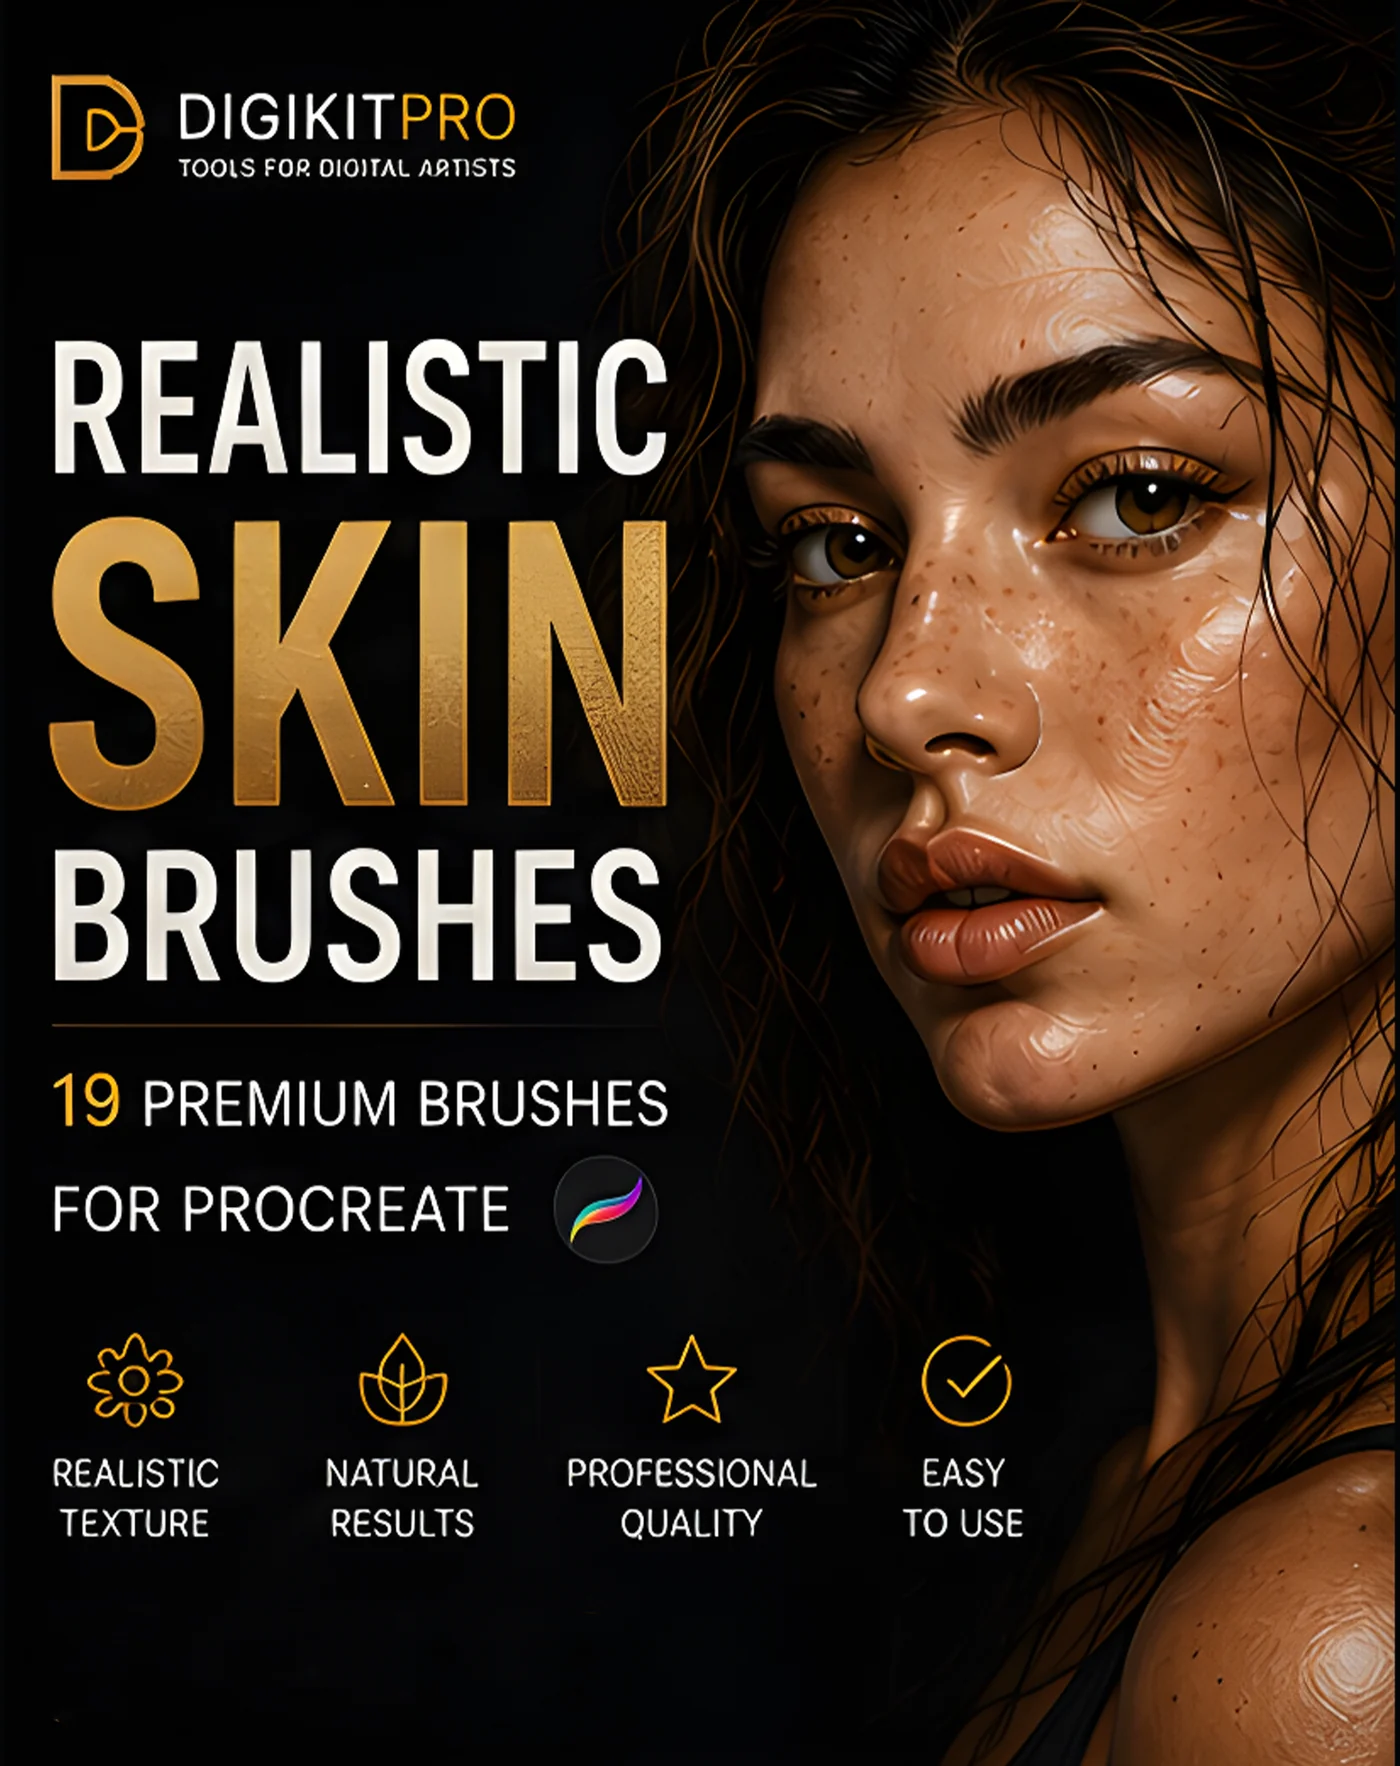
Realistic skin is the hardest surface in digital painting, and the most satisfying when it clicks. The good news: believable skin in Procreate is less about talent and more about following a repeatable sequence. Here is the exact workflow.
Step 1: Start with a confident sketch, not heavy render
Murky skin usually begins as a murky drawing. Block the head structure with a natural pencil brush, light pressure for construction lines, heavier weight only where you commit to an edge (jaw, nostril wings, lip seam).
Step 2: Lay a mid-tone base that matches the light
Choose a base color that sits in the middle of your subject's value range, biased warm. Skin is translucent; if your base is too light or too saturated, every later pass fights you. Lay it flat with a smooth base-layer brush, the Portrait Skin Brushes set includes a dedicated base layer brush for this exact reason.
Step 3: Add undertone variation before any detail
Skin is never one color. Glaze cooler, greyer tones into the eye sockets, temples and under the jaw; push warmer oranges and reds into the cheekbones and fingertips. Keep this pass soft and big, no details yet.
Step 4: Paint the blush zones (subsurface scattering)
Light penetrates skin and scatters inside it, pooling red saturation in thin areas: the nose tip, ears, cheeks, lips, knuckles. On a new layer, add that warmth with a low-flow blusher brush. This single step does more for "alive-looking" skin than any texture brush.
Step 5: Build texture in passes, not one heavy stamp
Now the pores and micro-texture. Work light to heavy on 2–3 separate layers at low opacity:
- A broad, low-opacity texture pass over the whole face so no area is perfectly smooth
- A stronger texture pass only where light rakes across the surface (forehead, cheekbone tops, nose bridge)
- Tiny specifics last, a freckles brush, a few moles, faint smile lines
The textured blending brushes in the skin brush set let you soften between passes without polishing the life back out.
Step 6: Control your edges
Realistic skin has mostly soft edges with a few razor-sharp anchors: the lash line catching light, the wet edge of the lip, a reflective specular on the nose. Reserve your hardest brush for those three or four places and the whole face becomes believable.
Step 7: Grade, then stop
Unify everything with one subtle adjustment layer, a color balance nudge or a whisper of paper texture on Overlay at 10–15%. Then stop painting. Overworking is the number-one killer of skin realism.
Common mistakes that make skin look plastic
- Blending everything with a smooth airbrush, skin needs tooth; use textured blenders
- Uniform saturation, vary warm and cool zones constantly
- Texture everywhere at full strength, texture should live mostly in the light
- Pure grey or black shadows, skin shadows carry bounced color; borrow reds and ochres from the surroundings
FAQ
What brush is best for blending skin in Procreate?
A textured blending brush with light pressure build-up. Smooth airbrushes create the "plastic" look; textured blenders keep painterly tooth while softening transitions.
How do I paint freckles that look real?
Place them sparsely and asymmetrically, across the nose and cheekbones where sun actually hits. Vary size and opacity, identical dots read as noise, not skin.
What canvas size and DPI should I use?
For portraits, 3000×3000 px at 300 DPI is a solid minimum; skin texture brushes are resolution-dependent, so larger canvases (4000 px+) give the most natural grain.