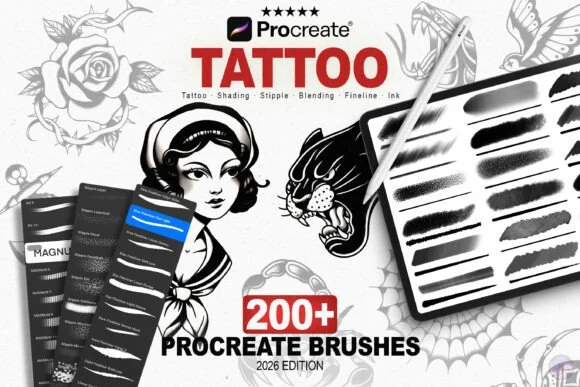
Procreate has quietly become the standard sketching tool in professional tattoo studios: designs iterate faster, stencils print cleaner, and clients approve concept work without a single erase mark. But digital tattooing fails fast with generic brushes, lines need needle logic, and shading needs the grit of dotwork and whip shading. Here is the working setup and workflow.
Why tattoo design needs its own brushes
A tattoo is not a drawing about to be printed, it is a plan about to be needled into skin. That changes everything:
- Line weight is a technical constraint. The machine's needle grouping (3RL, 7RL…) has a fixed physical width; your brush should draw at those honest widths so what you design is what you tattoo.
- Shading must carry texture. Smooth digital gradients don't translate; stipple, dotwork and whip-shade marks do.
- Contrast survives; subtlety fades. Skin tone swallows pale greys, so flash is designed bolder than illustration.
The kit: Tattoo Artist's Studio Kit (200+ brushes)
The Tattoo Artist's Studio Kit was engineered around exactly this: saturated liner brushes with real needle weight, shader brushes with soft grainy transitions, and stipple/dotwork tools with the organic spacing of hand-poked texture. It's the difference between sketching a tattoo and *planning* one.
For thematic flash sets, dedicated sub-kits like the Koi Fish Tattoo brushes give you bold, culturally-true starting points to customize.
The workflow, step by step
- Thumbnail at real size. Set the canvas to the tattoo's actual dimensions (a forearm piece ≈ 2500×3500 px at 300 DPI prints true). Designing at final size forces honest line density.
- Rough with a pencil brush. Composition first: flow of the design across the body zone. If it's a sleeve wrap, mock it on a limb photo layer early.
- Linework on a dedicated layer. Use your heaviest needle-logic liner for the primary outline, a lighter one for interior detail. Keep spacing honest, touch-up-close lines that heal into a blob are the classic rookie trap.
- Black packing & dotwork. Mass black areas with full-saturation brushes; shade with stipple builds (light stipple pass, heavier pass, darkest pass) or whip-shade directionals.
- Self-check at thumbnail size. Zoom out to 25%. If the piece still reads, it heals well.
- Export the stencil. Flatten the design, drop to pure linework if you separate them, export a clean PNG, straight into your stencil software or print.
Fineline vs traditional vs ornamental
- Fineline: single-needle liners only, minimal shading, spacing is everything, pair the tattoo kit with the Master Line-Art Vault for the widest single-needle palette
- Traditional: one heavy liner, packed color fields, no gradients
- Ornamental/dotwork: stipple tools do the heavy lifting; symmetry guides save hours
- Neo-traditional: needle lines plus limited whip-shade, the studio kit's shaders shine here
FAQ
Can Procreate brushes replace real tattoo practice?
No, brushes teach design language, not skin behavior. But for flash, concepts and client mockups, iPad work is now the professional norm.
What canvas DPI should tattoo flash use?
300 DPI at true physical size. Clients and printers both benefit, and line density stays honest.
How do I mock a design on a body photo?
Place the photo as the base layer, add the design above on Multiply blend mode for linework previews, then warp with the Transform tool to wrap the limb's geometry.