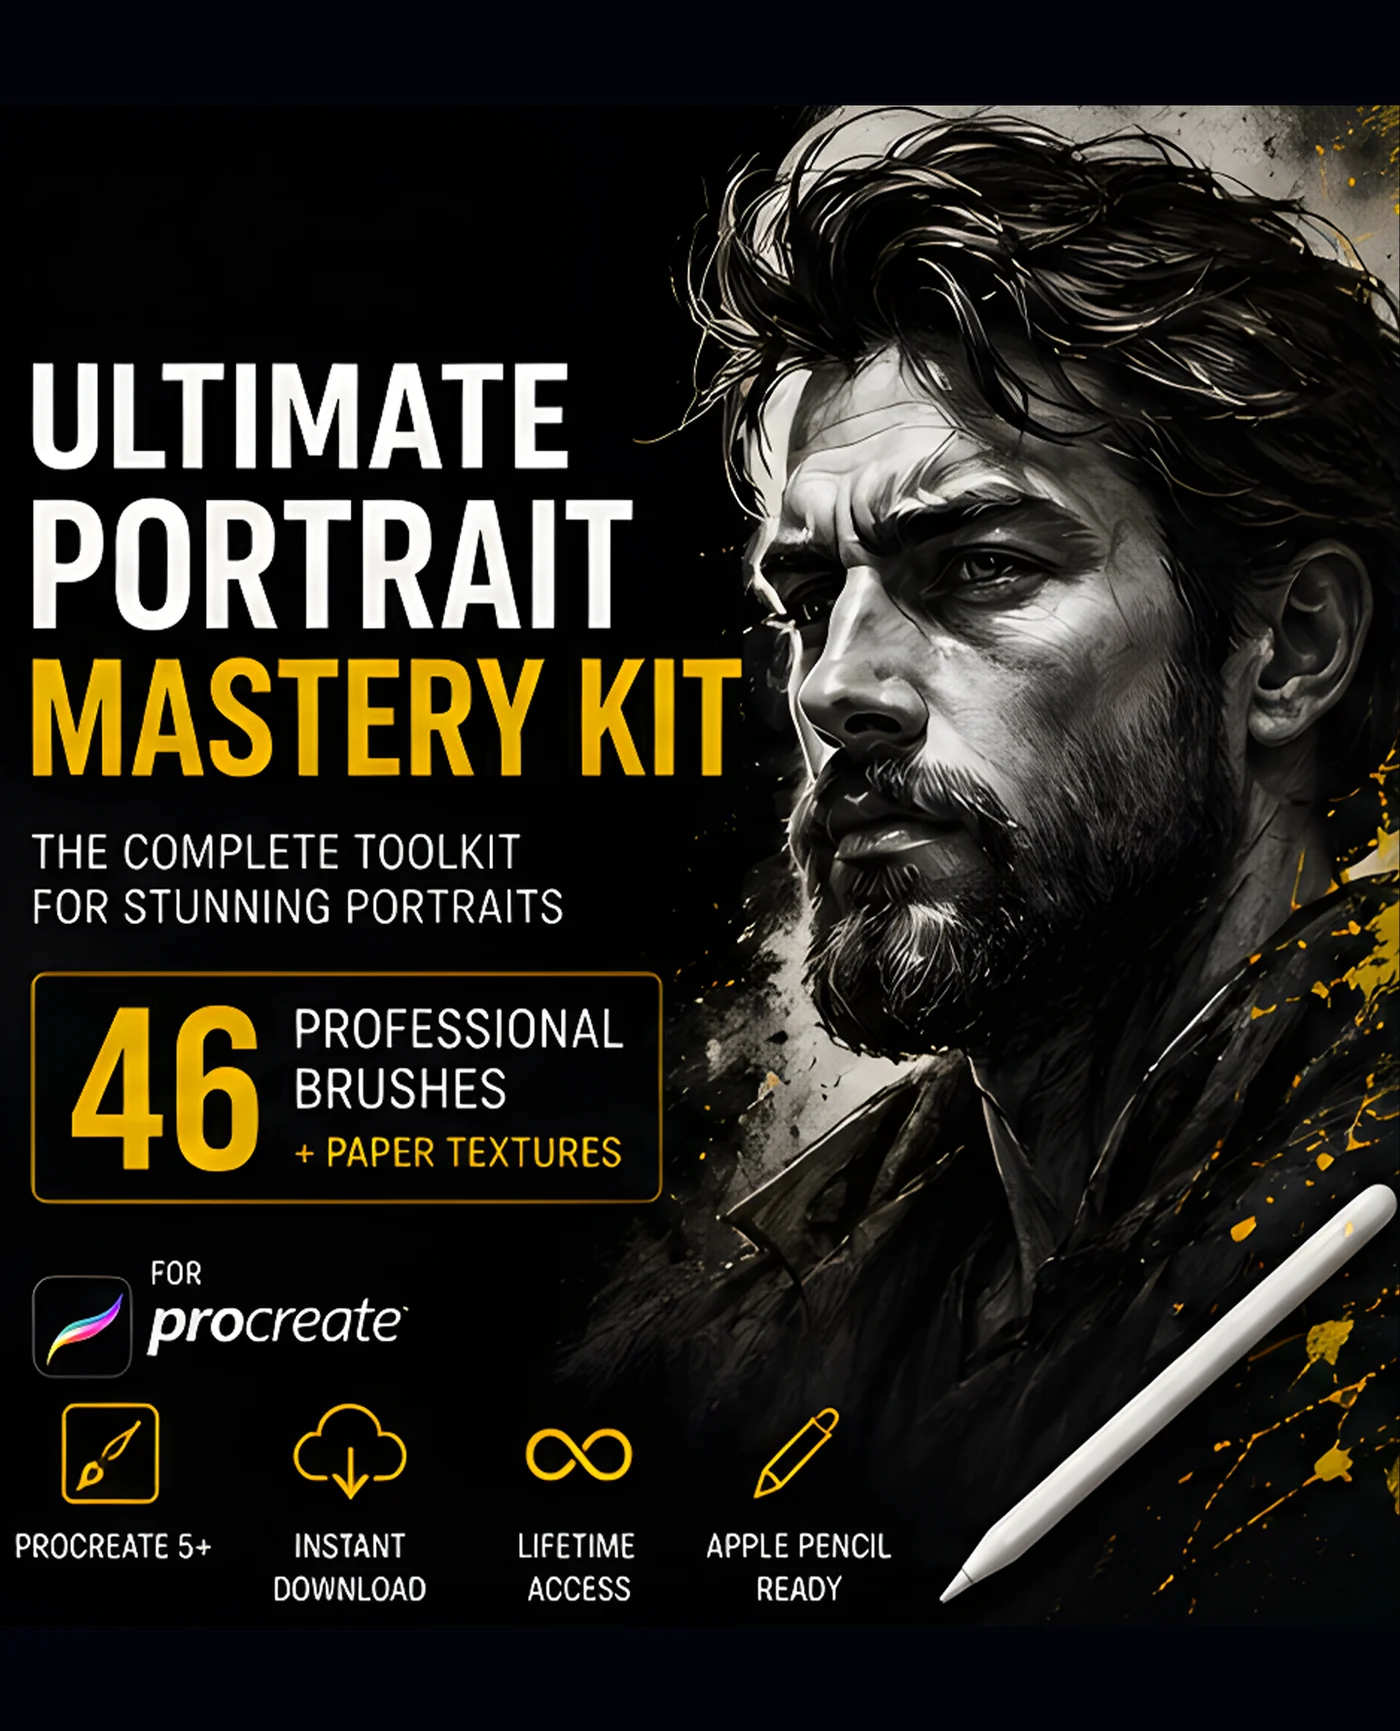
A professional portrait is not painted in one heroic session, it is assembled in deliberate stages, each with its own goal, layer structure and brush family. This is the complete pipeline, from a blank canvas to a finished portrait, exactly as working iPad portrait artists run it.
Stage 0: Canvas setup
- 3000×3000 px minimum, 4000 px+ for detailed realistic work, at 300 DPI
- Neutral mid-grey background (white backgrounds trick your value judgment)
- A subtle paper texture layer sitting above everything from the start, so every stroke is born with tooth
Stage 1: Gesture and construction sketch (5–15 minutes)
On one layer, find the head with big directional marks: the cranial mass, the face angle line, the rhythm from brow to chin. Keep the pencil light and fast, the Sketch section of the Portrait Mastery Kit exists for this. Do not render anything. If the gesture is wrong, no amount of later polish saves the piece; if it is right, you cannot really fail.
Stage 2: Line drawing
Lower the sketch opacity, add a clean layer on top, and resolve the drawing with a tapered liner: confirm the silhouette, the eye shapes, the nose structure, the lip seam. This is your map for every later stage, worth doing slowly.
Stage 3: Flat colors
Under the line layer, flat in your mid-tones: one flat per zone (skin base, hair base, clothing, background). Choose base colors as the local color of each zone in average light. Flats are deliberately boring, their job is a correct value map.
Stage 4: Form shadows
Lock (alpha-lock or clip) the skin flat and carve the form: a soft shadow shape turning the eye sockets, under the nose plane, along the jaw, at the hairline. Use a warm, moderate shadow color, never black. Establish the whole 3D head before touching any detail. Then repeat smaller-scale for the hair mass (see our hair workflow).
Stage 5: Light and color temperature
Now the lit side: warm highlights on the cheekbones, brow, nose bridge and lip. This is where blush zones and subsurface scattering come in, the reds in ears, nose tip and cheeks that make skin alive. Full technique breakdown in our guide on creating realistic skin in Procreate.
Stage 6: Skin texture
The realism pass: pores and micro-texture at low opacity in the light, texture blenders softening transitions without killing tooth. A dedicated set like the Portrait Skin Brushes, texture, freckles, wrinkles, eyelash and blend brushes, carries this stage.
Stage 7: Hair
Mass → light ribbon → clumped strands → highlight strands → flyaways. Block with stamps if you want the foundation fast (the 160-stamp Hair & Hairstyle Kit), then hand-finish the silhouette.
Stage 8: Eyes
Eyes carry the whole portrait. Structure: crisp upper lash line (your hardest edge in the piece), a dark pupil with softened iris edge, moisture gradient on the lower lid, and one decisive catchlight. Spend the time here.
Stage 9: Final grade
Unify: one color-balance or gradient-map adjustment layer, a gentle paper-texture Overlay at 10–15%, and a global edges check (most soft, a precious few sharp). Then stop.
The shortcut: one bundle that matches the pipeline
The Ultimate Portrait Mastery Bundle (252+ assets, 4 kits, line art, skin, hair stamps, glitter finish) maps one-to-one onto these nine stages, which is why it is the bundle working portraitists buy once and stop shopping.
FAQ
How long should a portrait take?
A finished illustrative portrait: 2–4 hours once the workflow is habit. Speed comes from stage discipline, not faster brushstrokes.
Which stage do beginners rush?
Stage 4, form shadows. Beginners jump to details before the head is three-dimensional. Ninety percent of "it looks off" portraits are under-built at the shadow stage.
Do I paint the background first or last?
Early, at flats stage, but loose. The background's value and temperature decide every skin color on top of it, so it must exist before rendering begins.