When a Procreate brush feels too shaky, too stiff, or too flat, you rarely need to replace the entire brush set. In most cases, adjusting one or two sliders inside Procreate Brush Studio—especially Stabilization, Taper, Grain, or Apple Pencil Pressure—tunes the brush to your hand speed and canvas resolution.
Before editing any imported brush, swipe left on the brush in your Brushes panel and tap Duplicate. Working on a duplicate preserves the original preset so you can always return to its default behavior.
Quick reference: which Brush Studio tab solves which problem?
| Symptom on canvas | Brush Studio tab | Setting to adjust |
|---|---|---|
| Wobbly or jittery ink outlines | Stabilization | Raise StreamLine or Stabilization (15%–45% for line art) |
| Line ends look blunt or rounded | Taper | Increase Pressure Taper and sharpen the Tip slider |
| Texture stretches instead of tiling | Grain | Switch Grain behavior from Moving to Texturized and check Scale |
| Watercolor wash looks opaque and heavy | Wet Mix & Rendering | Increase Dilution and Charge, or lower maximum opacity in Properties |
| Needs too much hand force for dark marks | Apple Pencil | Lower the Pressure opacity/size threshold or adjust the global Pressure Curve |
You can compare these tabs against the official Procreate Handbook: Brush Studio for version-specific control names.
Step 1: Duplicate the brush and test on the Drawing Pad
Tap a brush twice in your Brushes panel to open Brush Studio. On the right side of Brush Studio sits the Drawing Pad, where you can test strokes immediately without leaving the editor.
- Swipe left on your chosen brush first and tap Duplicate so your original `.brushset` preset stays untouched.
- In the Drawing Pad top bar, tap Drawing Pad Settings to clear the pad or change the preview stroke color and brush size.
- Make three test strokes—a slow curve, a fast flick, and a light-to-heavy pressure ramp—before changing any slider so you have a clear baseline.
If you want a free pack to practise customizing without touching your paid sets, download the 100 Free Fine Liner Brushes from the Free Brushes page.
Step 2: Tune Stabilization, StreamLine, and Motion Filtering for clean line art
Open the Stabilization tab on the left side of Brush Studio. Procreate provides three distinct smoothing methods that feel very different under the stylus:
- StreamLine: Pulls the stroke behind your Apple Pencil tip like a flexible ribbon. It excels at calligraphy, comic inking, and long contour curves, though high values (above 60%) can round off tight corners when sketching fast.
- Stabilization: Averages your stroke trajectory in real time. A moderate setting (15%–35%) removes hand tremor on smooth iPad glass while keeping corners crisp.
- Motion Filtering: Dampens micro-wobbles at the end of a stroke without adding the elastic lag associated with high StreamLine values.
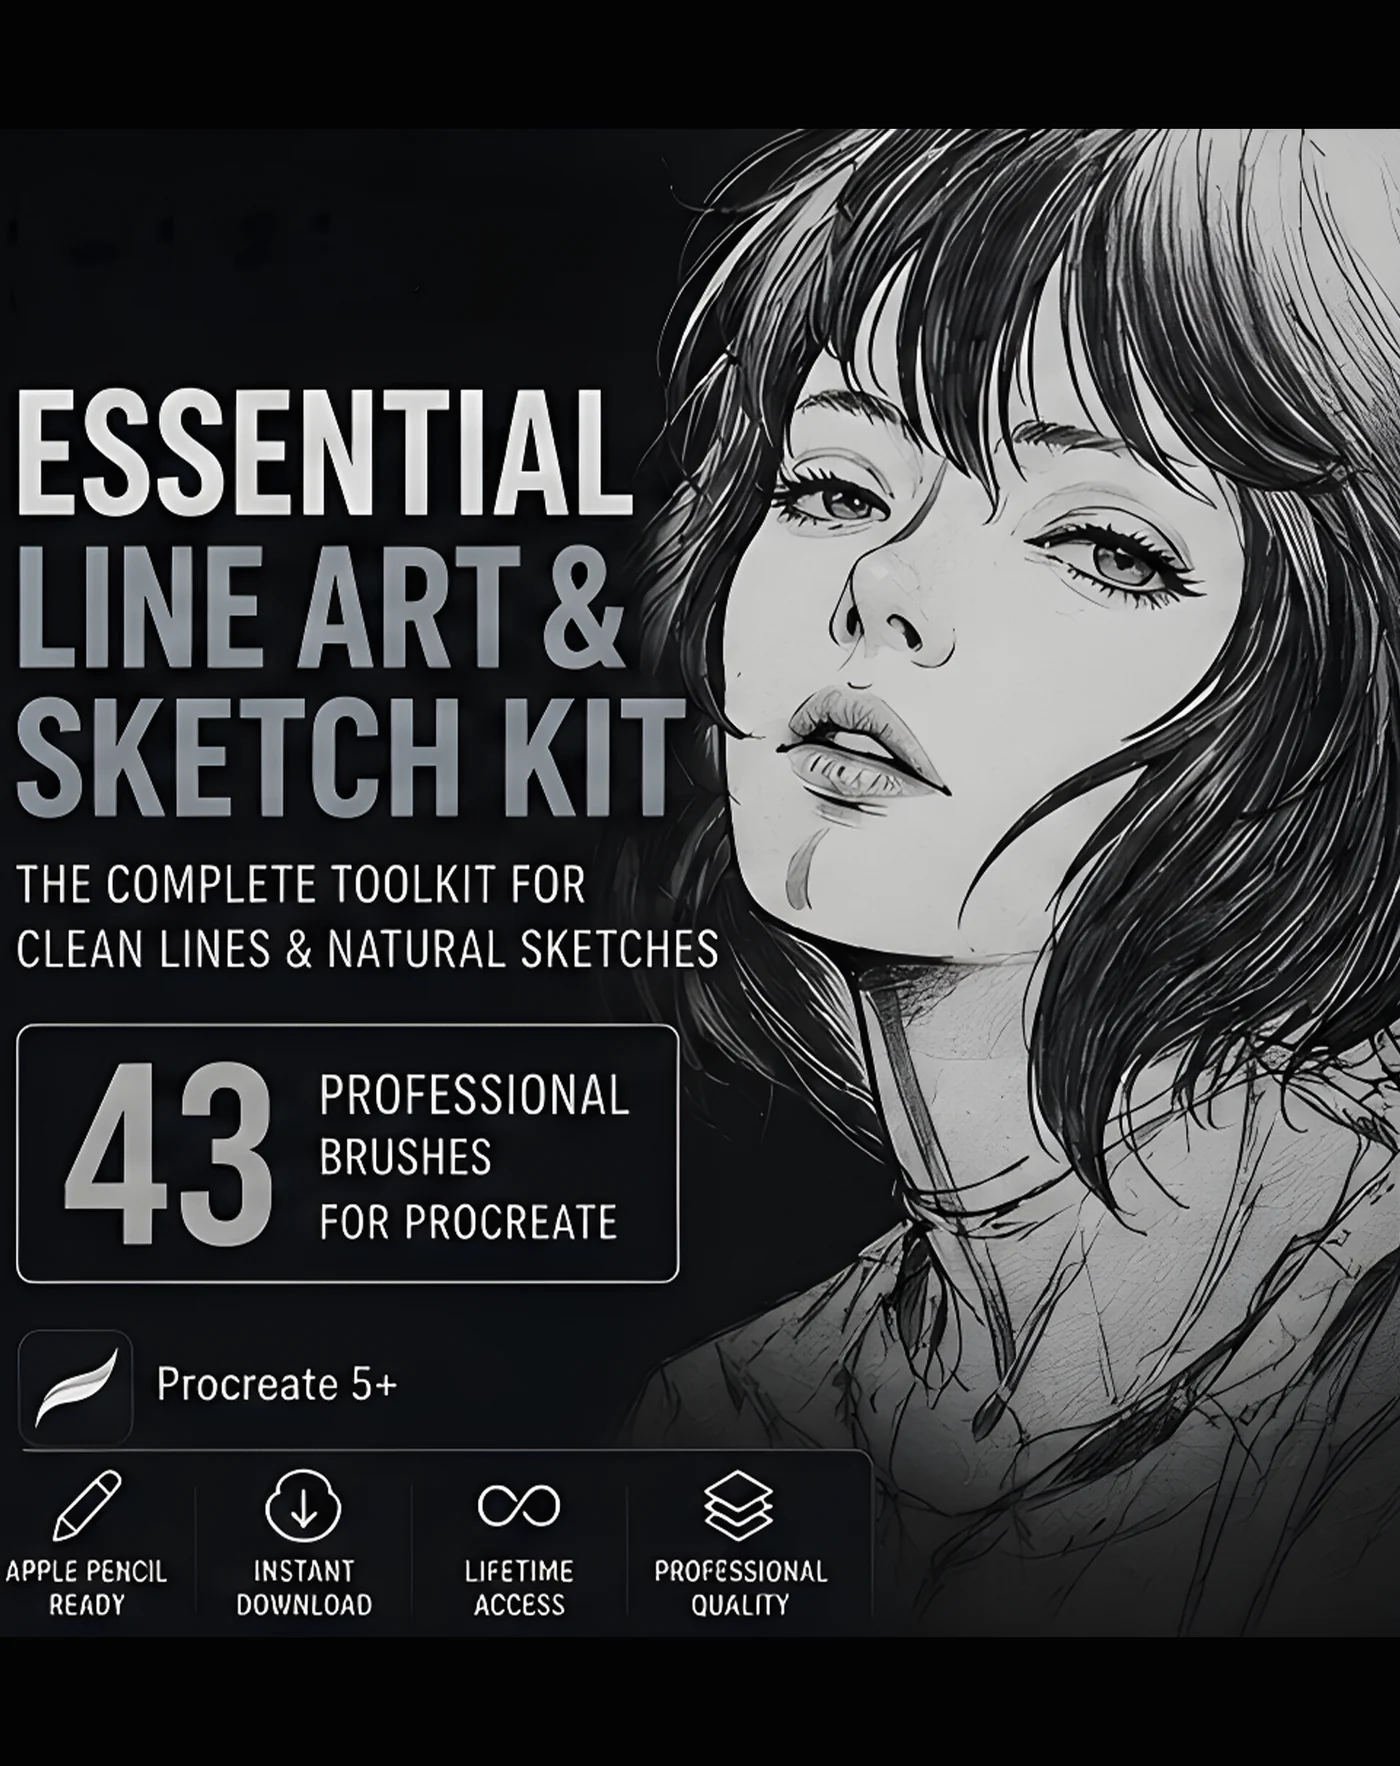
For gesture sketching and pencil underdrawings, keep all three sliders low (0%–15%) so the mark follows your hand immediately. For final ink contours—such as the 12 liners and 7 ink brushes inside the Essential Line Art & Sketch Kit—test a duplicate at 25%–40% Stabilization to match your drawing speed.
Step 3: Adjust Taper and Shape for sharp line tips
If your ink lines start and end with blunt circles instead of crisp points, open the Taper tab:
- Pressure Taper: Controls how much the stroke narrows when your Apple Pencil pressure is light at the start and end of a line.
- Touch Taper: Controls tapering when drawing with a finger or a non-pressure stylus.
- Tip Animation & Classic Taper: If the tip still looks soft when you flick the stylus, enable Tip Animation and slide the Tip control toward Sharp.
Next, check the Shape tab. Scatter rotates the brush stamp randomly along the path (useful for foliage, pores, and stipple, but keep it at 0% for clean liners), while Count stacks multiple stamp impressions per step to make dry-media and charcoal brushes denser.
Step 4: Configure Grain behavior for skin, paper, and watercolor texture
The Grain tab defines the internal texture inside every stroke. Understanding the difference between Moving and Texturized grain prevents muddy shading:
- Moving Grain: Dragging the stylus pulls and smudges the grain along with the tip, similar to oil pastel or a wet bristle brush.
- Texturized Grain: The brush acts like a window revealing a stationary paper or pore pattern underneath. As long as you stay within one stroke—or enable Offset Jitter off—overlapping passes build density without blurring the paper tooth.
When painting portraits with the 19 brushes in Portrait Skin Brushes for Procreate, keep skin-pore and freckle brushes at their intended Scale so the texture matches your canvas DPI. If you work on a large 300 DPI print canvas (calculate exact pixel dimensions with the Procreate Canvas Size & Layer Calculator), you can raise Grain Scale slightly in a duplicate brush so pores read clearly at full print resolution.
Step 5: Balance Wet Mix and Apple Pencil Pressure & Tilt
Two final tabs control how paint flows off the stylus:
- Wet Mix (Dilution, Charge, and Pull): Used heavily in watercolor sets such as the 80 Organic Watercolor Brushes. Dilution mixes water into the pigment so strokes start translucent and pool at the edges; Charge determines how much pigment sits on the brush before it fades out; Pull drags existing canvas color into the stroke.
- Apple Pencil (Pressure and Tilt): Under Pressure, Size makes the stroke wider as you press harder, while Opacity and Bleed make the mark darker or more textured under heavy pressure. Under Tilt, shading brushes widen when you hold the Apple Pencil at a low angle—just like shading with the side of a graphite or charcoal stick.
Finally, open Properties to set the Maximum Size and Minimum Size limits so the sidebar size slider on your canvas covers the exact stroke widths you use most.
FAQ
What is the difference between StreamLine and Stabilization in Procreate?
StreamLine pulls the stroke behind the stylus tip with a subtle ribbon effect suited to smooth lettering and long curves. Stabilization averages out hand jitter along the path while preserving sharper corners during sketching and line art.
Should I edit a downloaded Procreate brush directly?
No. Always swipe left on the brush in the Brushes panel and tap Duplicate before editing settings in Brush Studio. That way you keep the original preset intact for reference.
Why does my brush texture look too small on a 300 DPI canvas?
Brush grain is measured in pixels. On a high-resolution 300 DPI print canvas, a grain pattern appears finer than on a small screen canvas. Open a duplicate brush, go to the Grain tab, and increase the Scale slider slightly to match your canvas size.
Why do my Procreate brushes not respond to pressure?
Check that you are drawing with a compatible Apple Pencil paired to your iPad, then open Brush Studio > Apple Pencil and confirm that Size or Opacity under Pressure is set above 0%.
Where can I download free brushes to test Brush Studio settings?
You can download the 100 Free Fine Liner Brushes (77MB ZIP with 13 paper textures) and the Free Chalkboard Artist’s Toolkit on the DigiKitPro Free Brushes page.
Sources and update note
- Procreate Handbook: Brush Studio — official reference for Stabilization, Taper, Shape, Grain, Wet Mix, and Apple Pencil tabs.
- DigiKitPro product pages linked above — verified brush counts and workflow notes.