Shading in Procreate becomes much simpler once you separate layer setup from edge style. Regardless of whether you paint realistic portraits, anime characters, or comic ink illustrations, every shadow has two parts: the shape of the shadow (where light cannot reach) and the edge of the shadow (hard for cast shadows, soft or textured for rounded form turns).
Instead of shading directly on your base color or line-art layer, use Clipping Masks and Multiply layers so you can adjust shadow color, opacity, and edge softness non-destructively.
Comparing the 3 core Procreate shading styles
| Shading method | Best suited for | Edge character | Recommended DigiKitPro toolkit |
|---|---|---|---|
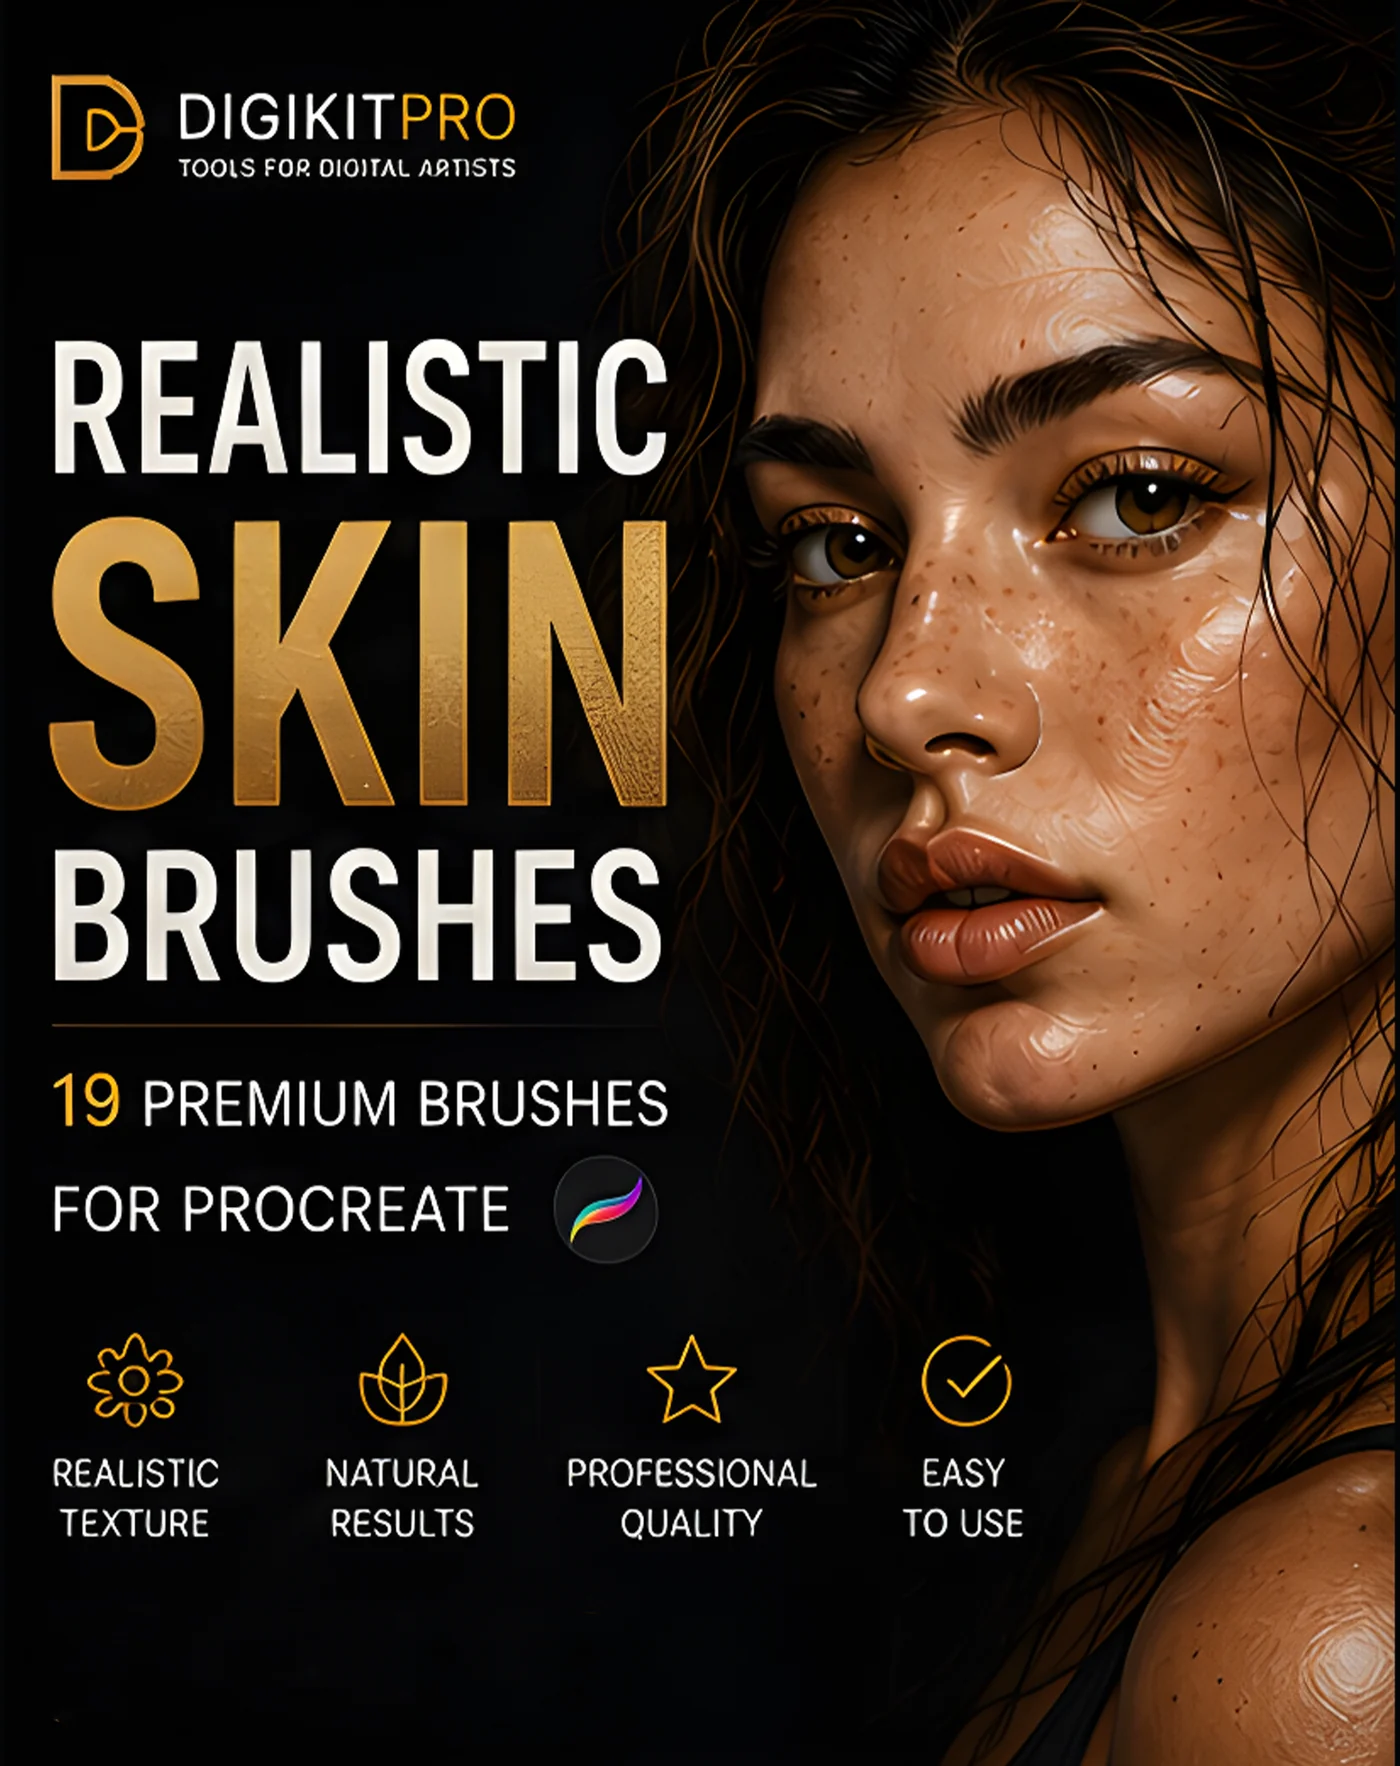
| Soft textured shading | Realistic portraits, skin tones, painterly studies | Gradual transitions with subtle pore or paper grain | Portrait Skin Brushes ($5) (19 brushes) |
| Cel & soft-anime shading | Anime characters, webtoons, stylized illustration | Crisp shadow shapes with selective softened edges | Anime Soft-Style Studio Kit ($5) (100+ brushes) |
| Hatching & charcoal tonal shading | Ink line art, figure drawing, traditional sketchbook looks | Parallel ink lines, stippling, or dry charcoal grain | Essential Line Art & Sketch Kit ($5) (43 brushes) or Professional Charcoal Studio ($5) |
For official details on layer clipping and blend modes, see the Procreate Handbook: Layers and Blend Modes.
Step 1: Set up a non-destructive Clipping Mask shadow layer
Before picking a shading brush, organize your layers so your shadows never spill outside your silhouette:
- Keep your clean line art near the top of the Layers panel (set to Reference if you use ColorDrop, or set to Multiply).
- Below the line art, create a Flat Base Color layer with a solid, 100%-opaque brush so the silhouette has no gaps.
- Tap the + button to create a new layer directly above your Flat Base Color layer, tap the new layer thumbnail, and choose Clipping Mask.
- Tap the N icon on that clipped layer, change its blend mode to Multiply, and lower layer opacity to 45%–65% as a starting point.
Because the Multiply layer is clipped to your base color, every shading stroke stays neatly inside your character or portrait boundary.
Step 2: Map the light direction and block in two value groups
Resist the urge to blend or add tiny details right away. Pick one consistent light source (for example, upper-left front light) and block in large shadow shapes first:
- Form shadows: Where a rounded surface (cheekbone, cylinder of an arm, fold of cloth) turns away from the light.
- Cast shadows: Where one form blocks light from hitting another surface (under the nose, under the chin and jawline, under hair bangs).
Instead of shading with pure black or grey—which makes skin and clothing look muddy—pick a slightly warmer or cooler hue on the color wheel (such as a warm rose-terracotta for sunlit skin shadows or a cool violet-blue for outdoor daylight shadows) on your Multiply layer. Need ready-made color harmonies? Grab the Free Color Vault (1,200+ Swatches) on our Free Brushes page.
Step 3: Technique A — Cel and soft-anime shading
For anime, manga, and clean character art, shadow shape accuracy matters more than heavy blending:
- Use a firm, pressure-sensitive liner or marker from the Anime Soft-Style Studio Kit to draw the outer boundary of each shadow shape on your clipped Multiply layer, then fill the shape cleanly.
- Keep cast shadows (under the hair fringe, collar, and chin) crisp and unblended.
- Where a shadow wraps gradually around a curved cheek, shoulder, or sleeve, take a soft watercolor-style wash or shading brush and gently soften only one side of the shadow edge—leaving the opposite edge crisp.
- Add a second clipped Multiply layer for deep occlusion shadows in tight creases, where hair overlaps the neck, and in the upper crease of the eye.
Step 4: Technique B — Soft textured shading for realistic portraits
When shading realistic faces, over-using a smooth airbrush or high-strength Smudge tool erases skin texture and makes the portrait look like smooth plastic. Instead, use textured blenders and pore-preserving brushes:
- Block in the core shadow planes around the eye sockets, nose bridge, cheek hollow, and jaw using a soft base brush from Portrait Skin Brushes for Procreate.
- Soften only the transition boundary between light and shadow using short, light-pressure strokes—follow our three-pass blending method so you never blur the entire cheek into one flat gradient.
- Create a new clipped layer above your shadows and lightly stamp or brush skin pores, freckles, and subtle surface grain across the mid-tone and highlight transition zone where light grazes the skin texture most visibly.
- Read the complete realistic skin tutorial for color-zone mapping across the forehead, cheeks, and chin.
Step 5: Technique C — Hatching, stippling, and charcoal tonal shading
If you prefer an ink sketchbook or traditional drawing finish, build value with mark density rather than smooth gradients:
- Parallel hatching and crosshatching: Use the pencil, liner, and ink detailers in the Essential Line Art & Sketch Kit (43 brushes in 5 groups + 1 bonus paper-like texture brush) or the free 100 Free Fine Liner Brushes. Curve your hatch lines around the 3D cross-contour of the form; add a second crisscrossing pass only in the deepest core and cast shadows.
- Charcoal & dry-media shading: Tilt your Apple Pencil at a low angle with the compressed and vine charcoal tools in Professional Charcoal Studio (87MB ZIP) to lay down broad, toothy shadow masses, then lift crisp highlights back out with a textured eraser.
FAQ
Why do my shadows look muddy or grey in Procreate?
Shading with pure black or grey over saturated colors desaturates the mid-tone boundary. Instead, shade on a clipped Multiply layer using a slightly shifted hue (such as warm coral-brown or cool indigo-violet) and adjust the layer opacity slider.
Should I use Alpha Lock or a Clipping Mask for shading?
Use a Clipping Mask. Alpha Lock paints directly onto your base color pixels, making it hard to erase or recolor shadows later. A Clipping Mask sits on its own separate layer while still staying inside your base color silhouette.
What is the best blend mode for shadows in Procreate?
Multiply is the standard blend mode for shadows because it darkens the underlying local colors naturally while letting different base colors beneath it show through.
How do I keep portrait shading from looking overly airbrushed?
Keep some hard edges alongside soft edges, stop smudging once the main transition reads at thumbnail size, and add subtle surface grain or pore texture with a textured brush set such as Portrait Skin Brushes.
Can I practise ink hatching in Procreate with free brushes first?
Yes. Download the 100 Free Fine Liner Brushes (which includes 13 seamless paper textures) or the Free Chalkboard Artist’s Toolkit on the DigiKitPro Free Brushes page to practise line weight and tonal hatching at no cost.
Sources and update note
- Procreate Handbook: Layers and Blend Modes — official reference for Clipping Masks, Alpha Lock, and Multiply blend mode.
- DigiKitPro product pages linked above — verified brush counts, ZIP sizes, and workflow notes.