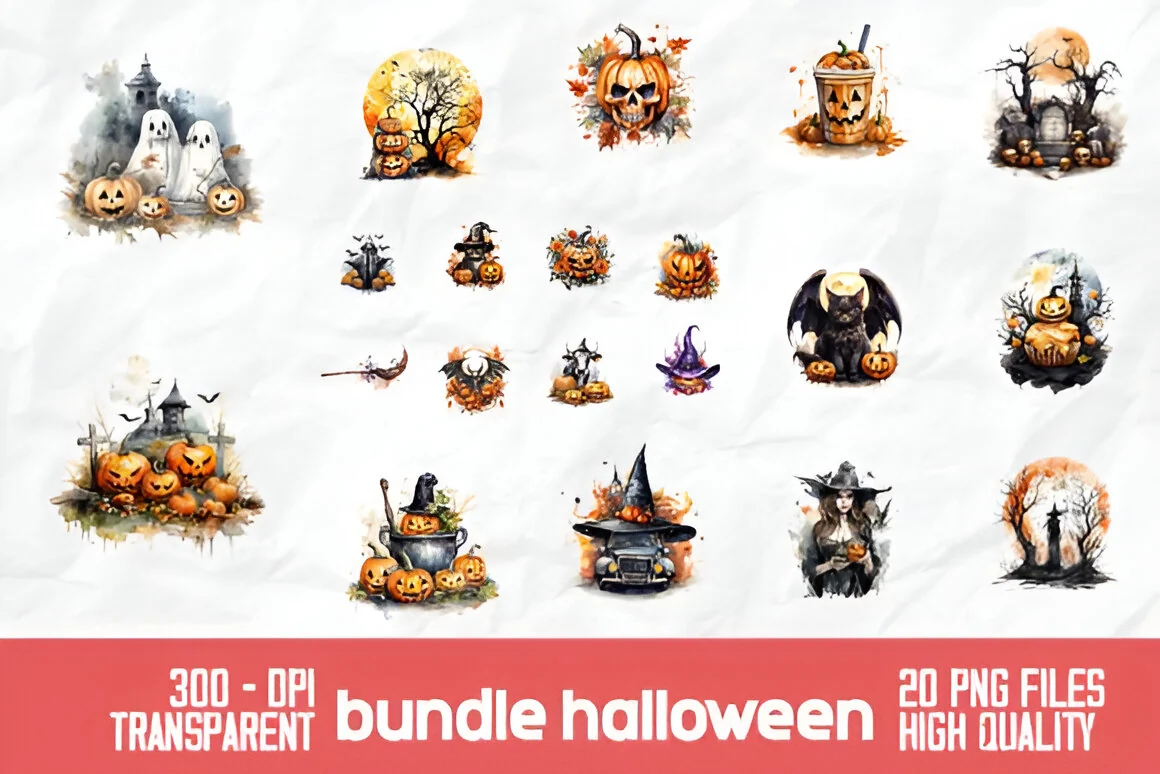
Halloween art is all about atmosphere: a cold moon, rolling fog, a carved pumpkin glowing from within, and just enough sparkle to feel magical. This tutorial walks through a complete spooky scene in Procreate, starting from an empty canvas and finishing with a lit jack-o-lantern wrapped in mist. You can follow it with the Halloween Spooky Pumpkin Bundle, the Smoke Procreate Brushes and the Glitter Procreate Brushes.
If you have not installed your packs yet, start with the brush installation guide, the whole process takes about a minute.
Step 1: Set up a 300 DPI canvas
Open Procreate and create a square or portrait canvas sized 3000 x 3000 px at 300 DPI. The 300 DPI setting keeps the pumpkin PNGs sharp if you later print stickers, invitations or posters. Add an early layer structure: a bottom Background layer for the sky, a Fog layer above it, a Pumpkin layer in the middle, and a top Light & Sparkle layer set as a clipping group so effects stay where you want them.
Step 2: Lay down a dark moonlit gradient
On the Background layer, fill the canvas with a deep indigo-black using a large soft brush. Then add a radial gradient of desaturated blue-purple from the top corner where your moon will sit. Keep the foreground darker than the sky, high contrast between a pale moon and a near-black ground is what sells a spooky night silhouette.
Step 3: Drop in a pumpkin PNG as its own layer
Open the Halloween Spooky Pumpkin Bundle and import one of the 20 pumpkin illustrations. Because the pack ships as transparent PNG files, you do not need to cut anything out: just drag the image in, or use Actions → Add → Insert a photo, and it lands on its own layer. Resize and place it with the Transform tool, then lower it so it sits on your dark foreground. PNGs also work in Canva, Photoshop or Affinity if you finish the piece elsewhere.
Step 4: Carve in the inner glow
Add a layer directly above the pumpkin and set it as a clipping mask so the light cannot spill outside the shape. Pick a warm orange-yellow and, on a low-opacity soft brush, paint glow inside the carved eyes and mouth. Switch the layer blend mode to Add or Screen and lower the opacity to around 40% for a believable candlelit look. Add a second, larger soft halo of orange on a layer beneath the pumpkin so the light appears to spill onto the ground.
Step 5: Build fog with the smoke brushes
Create the Fog layer between the background and the pumpkin. Select one of the 12 Smoke Procreate Brushes and, with a very light grey-blue, paint slow drifting strokes low across the ground and around the pumpkin's base. Work at a large brush size, then erase soft gaps so the fog looks like it is moving rather than sitting flat. Two or three thin, low-opacity layers read far better than one heavy one.
Step 6: Add magical sparkle and finishing highlights
On the top Light & Sparkle layer, use the Glitter Procreate Brushes to scatter tiny highlights around the moon, the pumpkin's glow and through the fog. Set the layer to Add so the sparkles catch the light. Finish with a few cool rim-light strokes along the pumpkin's outer edge using a soft airbrush, this separates the subject from the background and makes the whole scene pop.
Ideas to take it further
- Stamp several PNG pumpkins at different sizes and opacities to build a pumpkin patch receding into the fog.
- Use the smoke brushes to add a thin cloud drifting across the face of the moon.
- Export at 300 DPI to make party invitations, social posts or a sticker sheet, every asset in the pack is built for that workflow.
FAQ
Do I need Procreate to use the Halloween pumpkin PNGs?
No. The Halloween Spooky Pumpkin Bundle ships as transparent PNG image files, so they import into Procreate, Canva, Photoshop or Affinity. Only the brush packs (the smoke and glitter kits) require Procreate on iPad.
How do I install the smoke and glitter brushes?
Brush packs install like any Procreate set: unzip the download if it arrives as a ZIP, then tap the .brushset file in the Files app and Procreate imports it automatically. Full details are in the installation guide.
Will the PNG pumpkins look sharp when printed?
Yes. The illustrations are delivered at 300 DPI, which is print resolution for stickers, invitations and posters. Keep your Procreate canvas at 300 DPI and the artwork stays crisp.
Can I sell artwork I make with these packs?
Yes. DigiKitPro products include a license for personal and commercial artwork under the Terms page. You may not resell or redistribute the brush or PNG files themselves, but finished designs and illustrations you create are yours to sell.