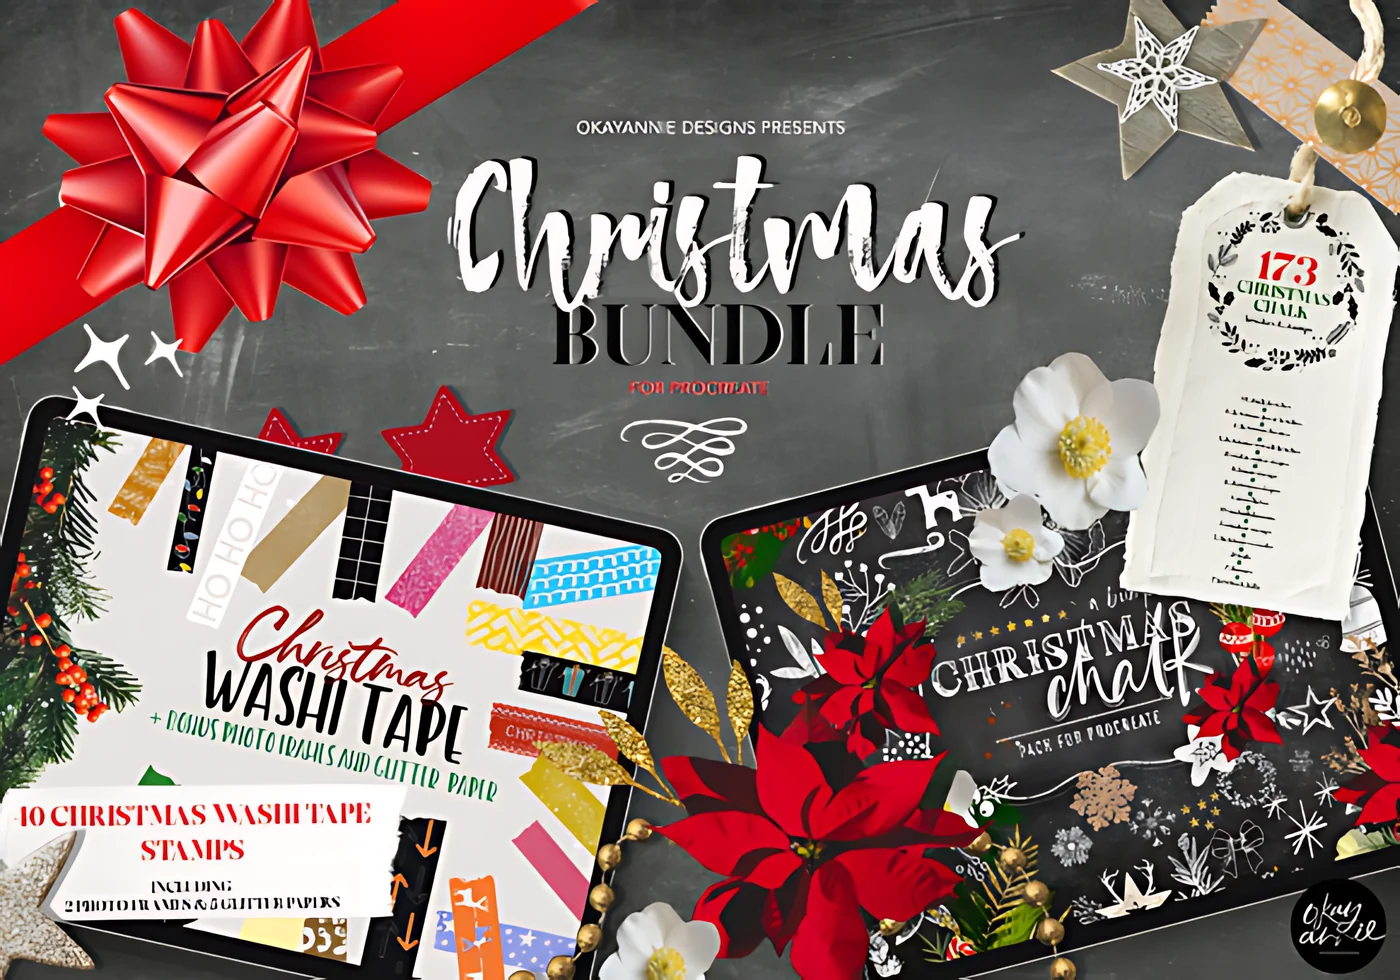
Hand-made holiday cards are one of the most rewarding things to draw on an iPad. This Christmas Procreate tutorial builds a complete festive greeting card using the Christmas Procreate Brushes Bundle: 173 holiday stamps and brushes, 44 washi tape brushes, glitter papers, frames and chalkboards, with a little extra shimmer from the Glitter Procreate Brushes and the free Chalkboard Artist's Toolkit.
New to installing .brushset files? The installation guide gets every pack onto your iPad in about a minute.
Step 1: Create a card-sized canvas
Start with a portrait canvas sized 1800 x 2400 px at 300 DPI, the classic 3:4 greeting-card ratio that also crops cleanly for social posts. Set up layers in working order from bottom to top: a Paper layer, a Decor layer for stamps and florals, a Washi layer, a Lettering layer, and a top Sparkle layer. Working on separate layers means you can recolor or move every element independently.
Step 2: Pick a paper or chalkboard background
Choose a base from the bundle: a glitter paper for a shimmering foil look, a plain warm cream for a traditional card, or one of the five included chalkboards for a hand-lettered sign feel. Fill the Paper layer with your choice, then drop in one of the photo frames or border stamps if you want a framed layout.
Step 3: Stamp your holiday decorations
On the Decor layer, pick from the Christmas stamps, decor shapes, cookie-cutter shapes, embellishments and floral stamps included in the bundle. Stamp your main motif (a wreath, tree or bauble cluster) near the center, then resize and rotate with the Transform tool. Because every stamp lands as a shape on its own layer initially, stamp on fresh layers, merge only when you are happy with placement, and recolor each element from the layer menu.
Step 4: Tape down notes with the washi tape brushes
Select one of the 44 hand-drawn washi tape brushes and, on the Washi layer, paint a short strip across the corners of photos, notes or framed sections just like real washi tape in a scrapbook. Lower the layer opacity slightly and add a subtle shadow underneath so the tape looks physically stuck down. This is the trick that turns a flat card into a layered journal-style design.
Step 5: Add chalk or brush lettering
On the Lettering layer, add your greeting. For a chalkboard card, use the free Chalkboard Artist's Toolkit brushes to hand-letter a phrase in soft, dusty white, it pairs perfectly with the dark chalkboard background. On a cream or glitter card, use any favorite liner brush for clean ink lettering. Keep the message short and centered so the decorative stamps stay the focus.
Step 6: Add shimmer and export
Finish on the Sparkle layer: scatter a few glitter brushes around lights, snowflakes and the edges of the frame, then set the layer to Add blend mode so the highlights glint. Zoom out to check the composition, add a light vignette if the edges feel too bright, then export at 300 DPI as a PNG or PDF ready to print or send digitally.
Ideas to take it further
- Make a matching set: card, gift tag and social post by reusing the same stamps on smaller canvases.
- Use the bonus PNG and AI photo frames in Canva or Photoshop if you finish the layout elsewhere.
- Recolor the same stamp layout in two palettes (classic red-green and modern blush-gold) for two cards from one design.
FAQ
What app do I need for the Christmas bundle?
The brushes, stamps and washi tape brushes are made for Procreate on iPad (Procreate 5 or later is recommended). The bonus PNG and AI files, including photo frames and glitter papers, can also open in other apps that support those formats, such as Canva, Photoshop or Affinity.
What is inside the Christmas Procreate Brushes Bundle?
The bundle includes 173 Christmas stamps and brushes (decor, shapes, cookie-cutter shapes, embellishments, brushes and floral stamps), 44 hand-drawn washi tape brushes, plus bonuses: 2 photo frames, 5 glitter papers, 4 Christmas photo frames in PNG and AI format, 5 chalkboards, an installation guide and brush-setting instructions.
How do I install the Christmas brushes?
Unzip the download, send the .brushset file to your iPad (AirDrop on a Mac, or a file transfer service such as Dropbox on Windows), then tap the .brushset file in the Files app and choose to open it in Procreate. The pack installs automatically; a full installation guide is included.
Can I sell the cards I make?
Yes. DigiKitPro products include a license for personal and commercial artwork under the Terms page, so finished cards, tags and designs you create are yours to sell. You may not resell or redistribute the brush, stamp or paper files themselves.